


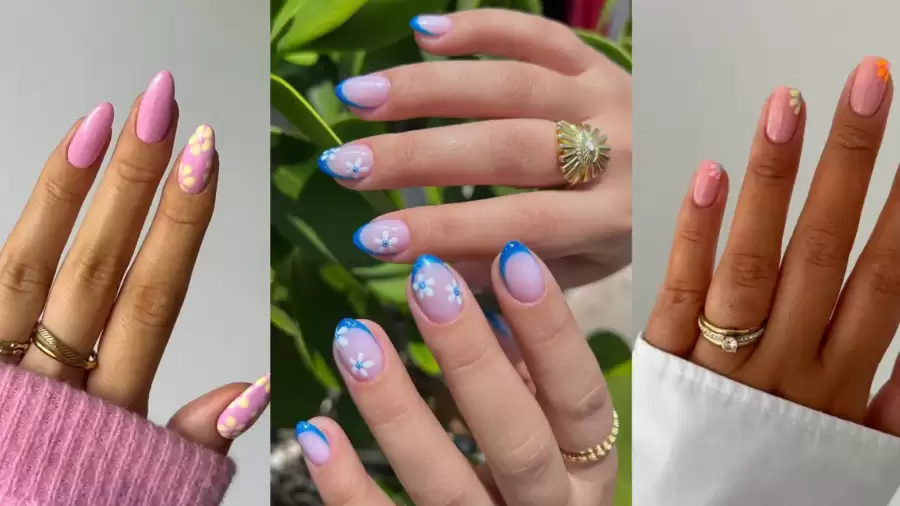
Flower nail designs are a popular choice for those looking to add a touch of femininity and elegance to their nails. Whether you’re a beginner or a seasoned nail artist, creating beautiful flower designs on your nails is easier than you think. In this step-by-step guide, we’ll show you how to create simple white flower nail designs and blue flower nail designs that will make your nails stand out.
Gather Your Supplies
Before you begin, make sure you have all the necessary supplies. You will need a base coat, top coat, white and blue nail polish, a dotting tool or toothpick, and a small brush for details. You may also want to have some nail polish remover and cotton swabs on hand for any mistakes.
Prep Your Nails
Start by prepping your nails. Remove any old nail polish and trim and shape your nails to your desired length. Apply a base coat to protect your nails and allow it to dry completely before moving on to the next step.
Simple White Flower Nail Designs

- Apply two coats of white nail polish to all of your nails. Allow the polish to dry completely.
- Using a dotting tool or toothpick, create five dots in a circle on your nail. These will be the petals of your flower.
- Using a small brush, drag the dots towards the center of the circle to create a petal shape.
- Repeat this process for each nail, creating as many flowers as you’d like.
- Once the flowers are dry, use a small brush to add green stems and leaves to your design.
- Finish with a top coat to seal in your design and add shine.
Blue Flower Nail Designs

- Apply two coats of blue nail polish to all of your nails. Allow the polish to dry completely.
- Using a dotting tool or toothpick, create five dots in a circle on your nail. These will be the petals of your flower.
- Using a small brush, drag the dots towards the center of the circle to create a petal shape.
- Repeat this process for each nail, creating as many flowers as you’d like.
- Once the flowers are dry, use a small brush to add white accents to the petals for a more detailed look.
- Finish with a top coat to seal in your design and add shine.
Tips for Perfect Flower Nail Designs
- Practice makes perfect! Don’t be discouraged if your first attempt doesn’t turn out exactly how you want it. Keep practicing and you’ll get the hang of it.
- Use a light hand when creating the petals to avoid smudging or smearing the design.
- If you make a mistake, don’t worry! Use a cotton swab dipped in nail polish remover to clean up any errors.
- Experiment with different colors and designs to create your own unique flower nail designs.
With this step-by-step guide, you can easily create beautiful flower nail designs at home. Whether you prefer simple white flowers or bold blue designs, your nails will be the talk of the town. Have fun and get creative with your flower nail designs!